AI development environment on Ubuntu
You are likely wasting money. If you are buying a new VPS for every small project or landing page, you are doing it wrong.
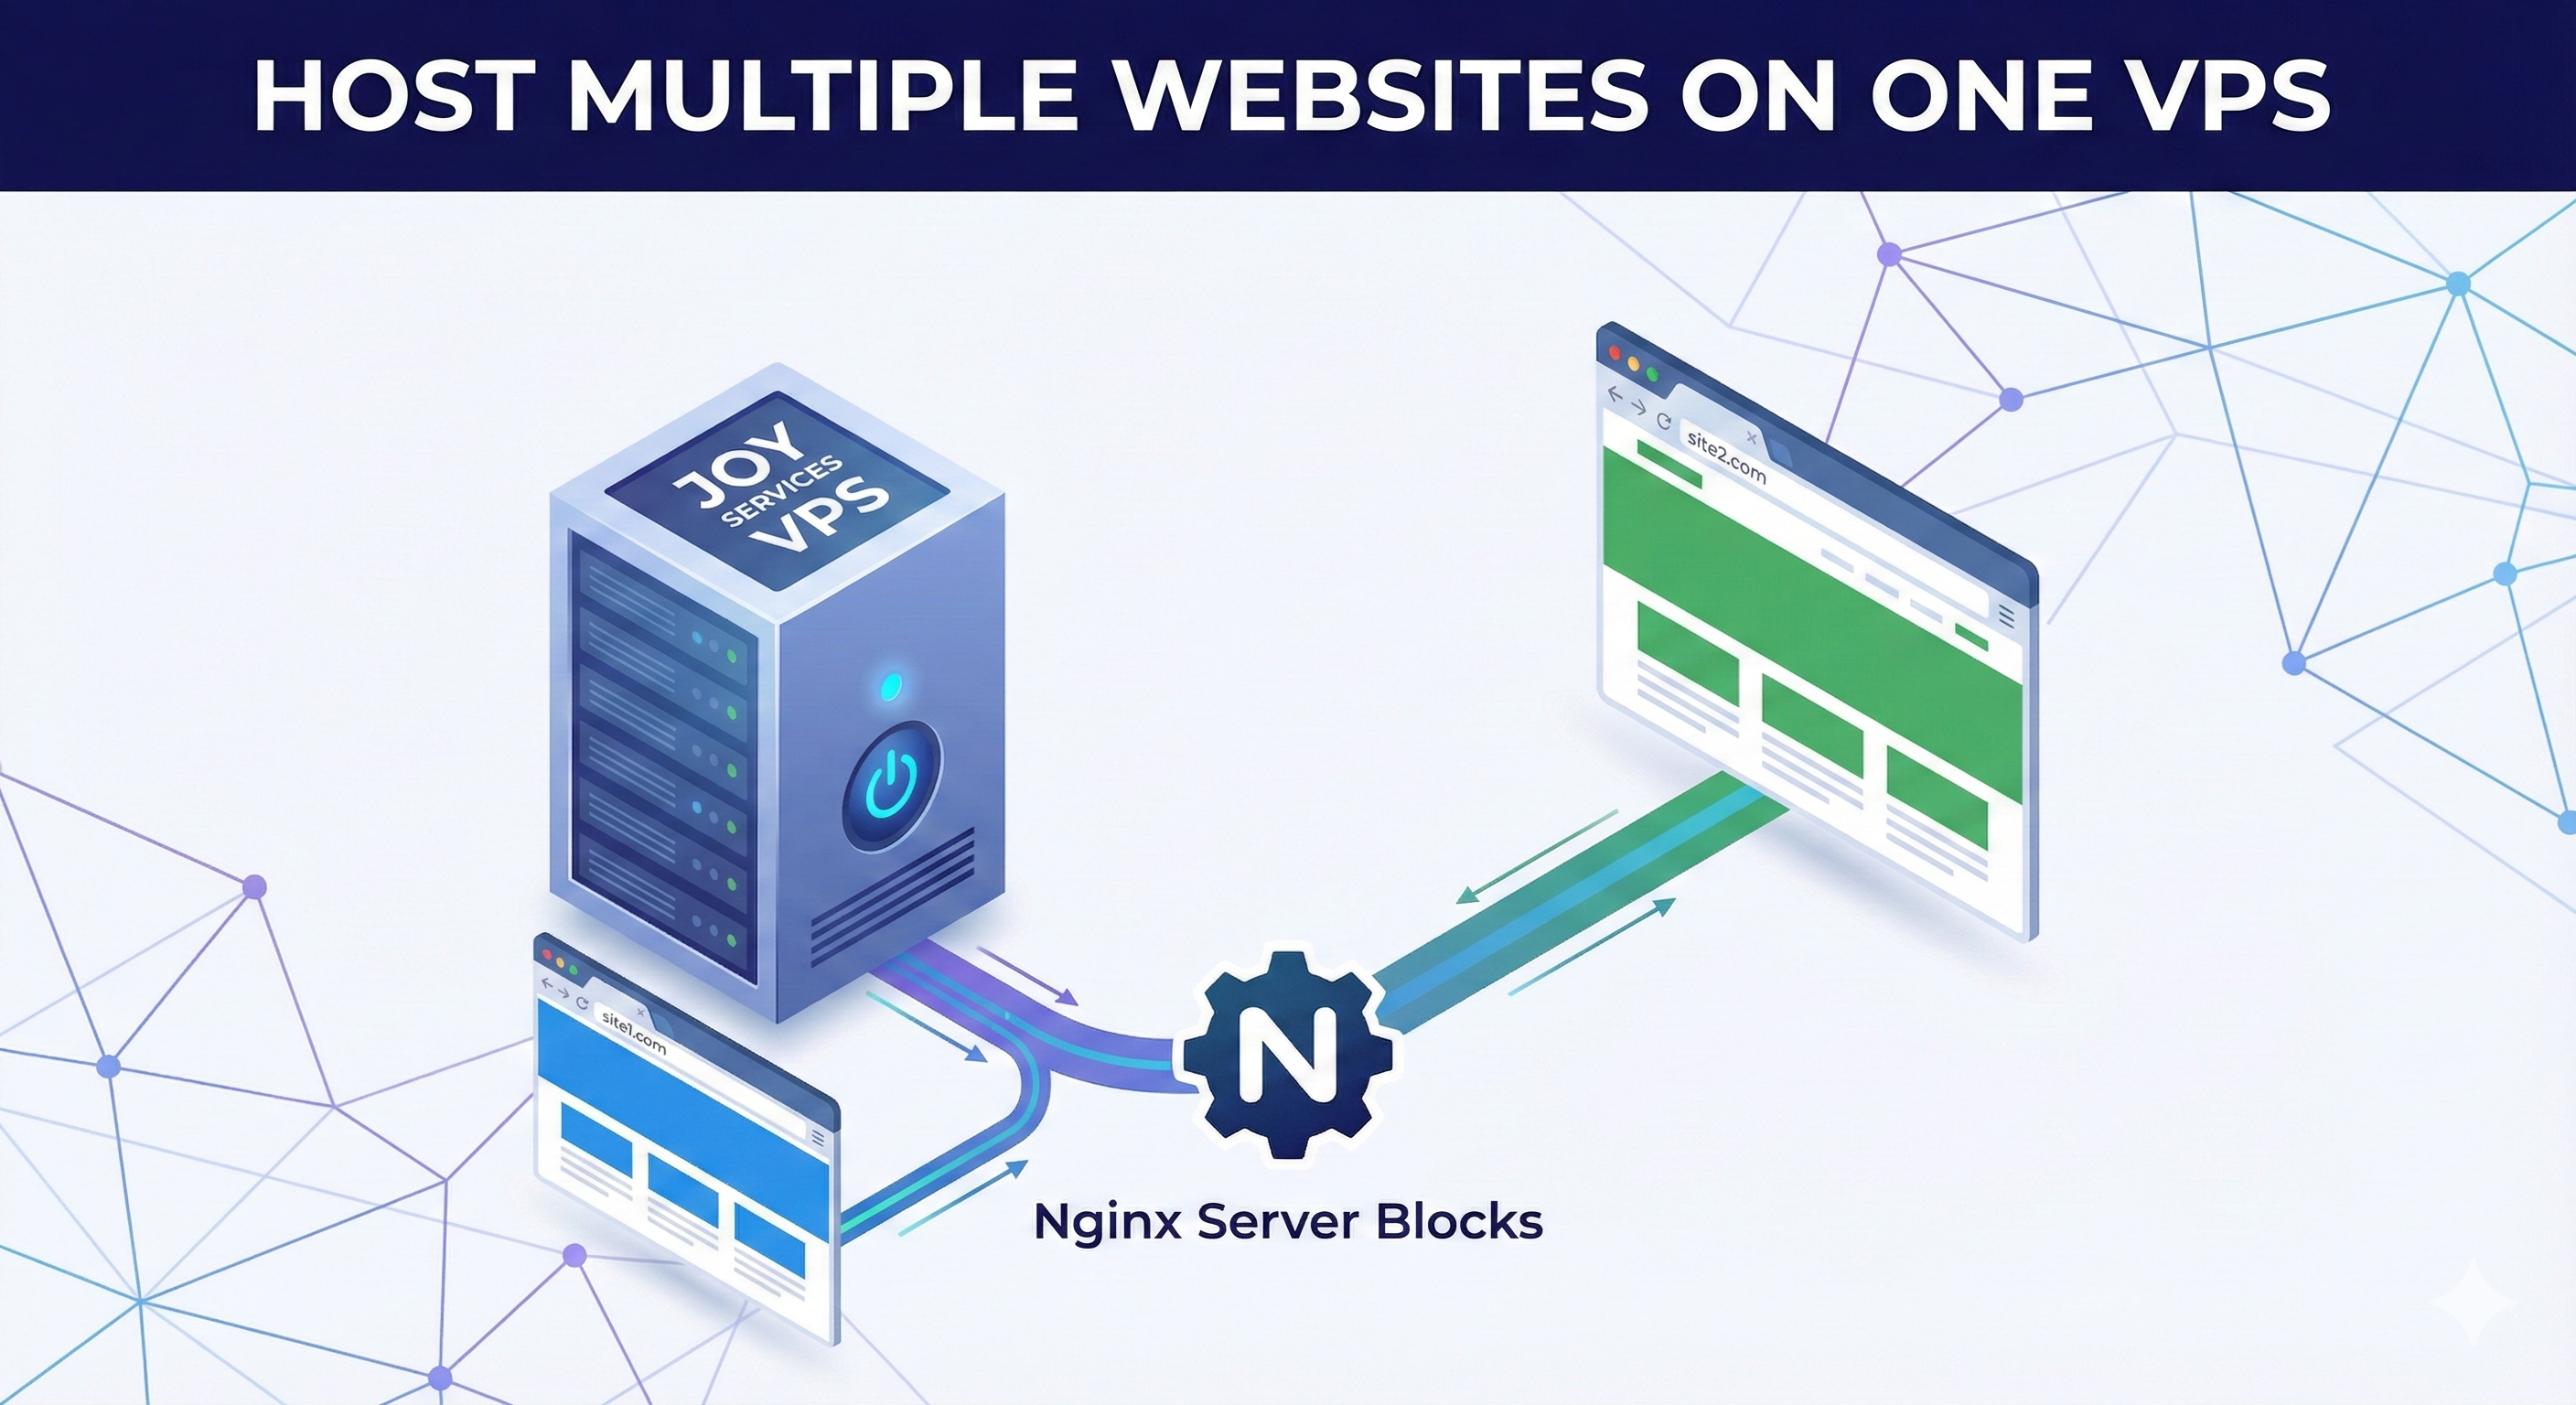
Nginx "Server Blocks" (similar to Virtual Hosts in Apache) act as a traffic cop. They check which domain name a visitor typed in (site1.com vs site2.com) and route them to the correct folder on your server. This allows you to host unlimited low-traffic sites on a single $5 VPS.
Step 1: Create the Directory Structure
First, we create the folders where your website files will live. We will do both sites at once to save time.
1. Create the directories:
2. Fix Permissions:
By default, these folders are owned by root. We need to give your user permission to edit them.
Step 2: Create Dummy Content
Create a simple file so we can verify the setup works.
Step 3: The Nginx Config
This is the most critical step. We need to tell Nginx how to handle the new domains.
1. Create the config for Site 1:
2. Paste the following configuration:
3. Repeat for Site 2:
Run sudo nano /etc/nginx/sites-available/site2.com and paste the code above again, but replace site1.com with site2.com.
Step 4: Enable and Test
Just creating the file doesn't turn it on. We must link it to the "sites-enabled" folder.
1. Create Symlinks:
2. The "Bucket Size" Fix:
With multiple domains, Nginx's default memory for domain names is often too small. If you skip this, Nginx might crash.
Find the line # server_names_hash_bucket_size 64; and remove the # symbol to uncomment it.
3. Test for Syntax Errors:
4. Restart Nginx:
Step 5: Secure with SSL (Essential)
Your site is currently running on HTTP (Insecure). Modern browsers hate this. Let's fix it instantly with Certbot.
Follow the prompts, select "2" to Redirect HTTP to HTTPS, and you are done. You now have two distinct, secure websites running on one Joy Services VPS.