AI development environment on Ubuntu
Old school hosting is a nightmare known as "Dependency Hell." You install PHP 8.1 for one app, but your second app requires PHP 7.4. Suddenly, your server is broken, and you are spending your weekend fixing config files.
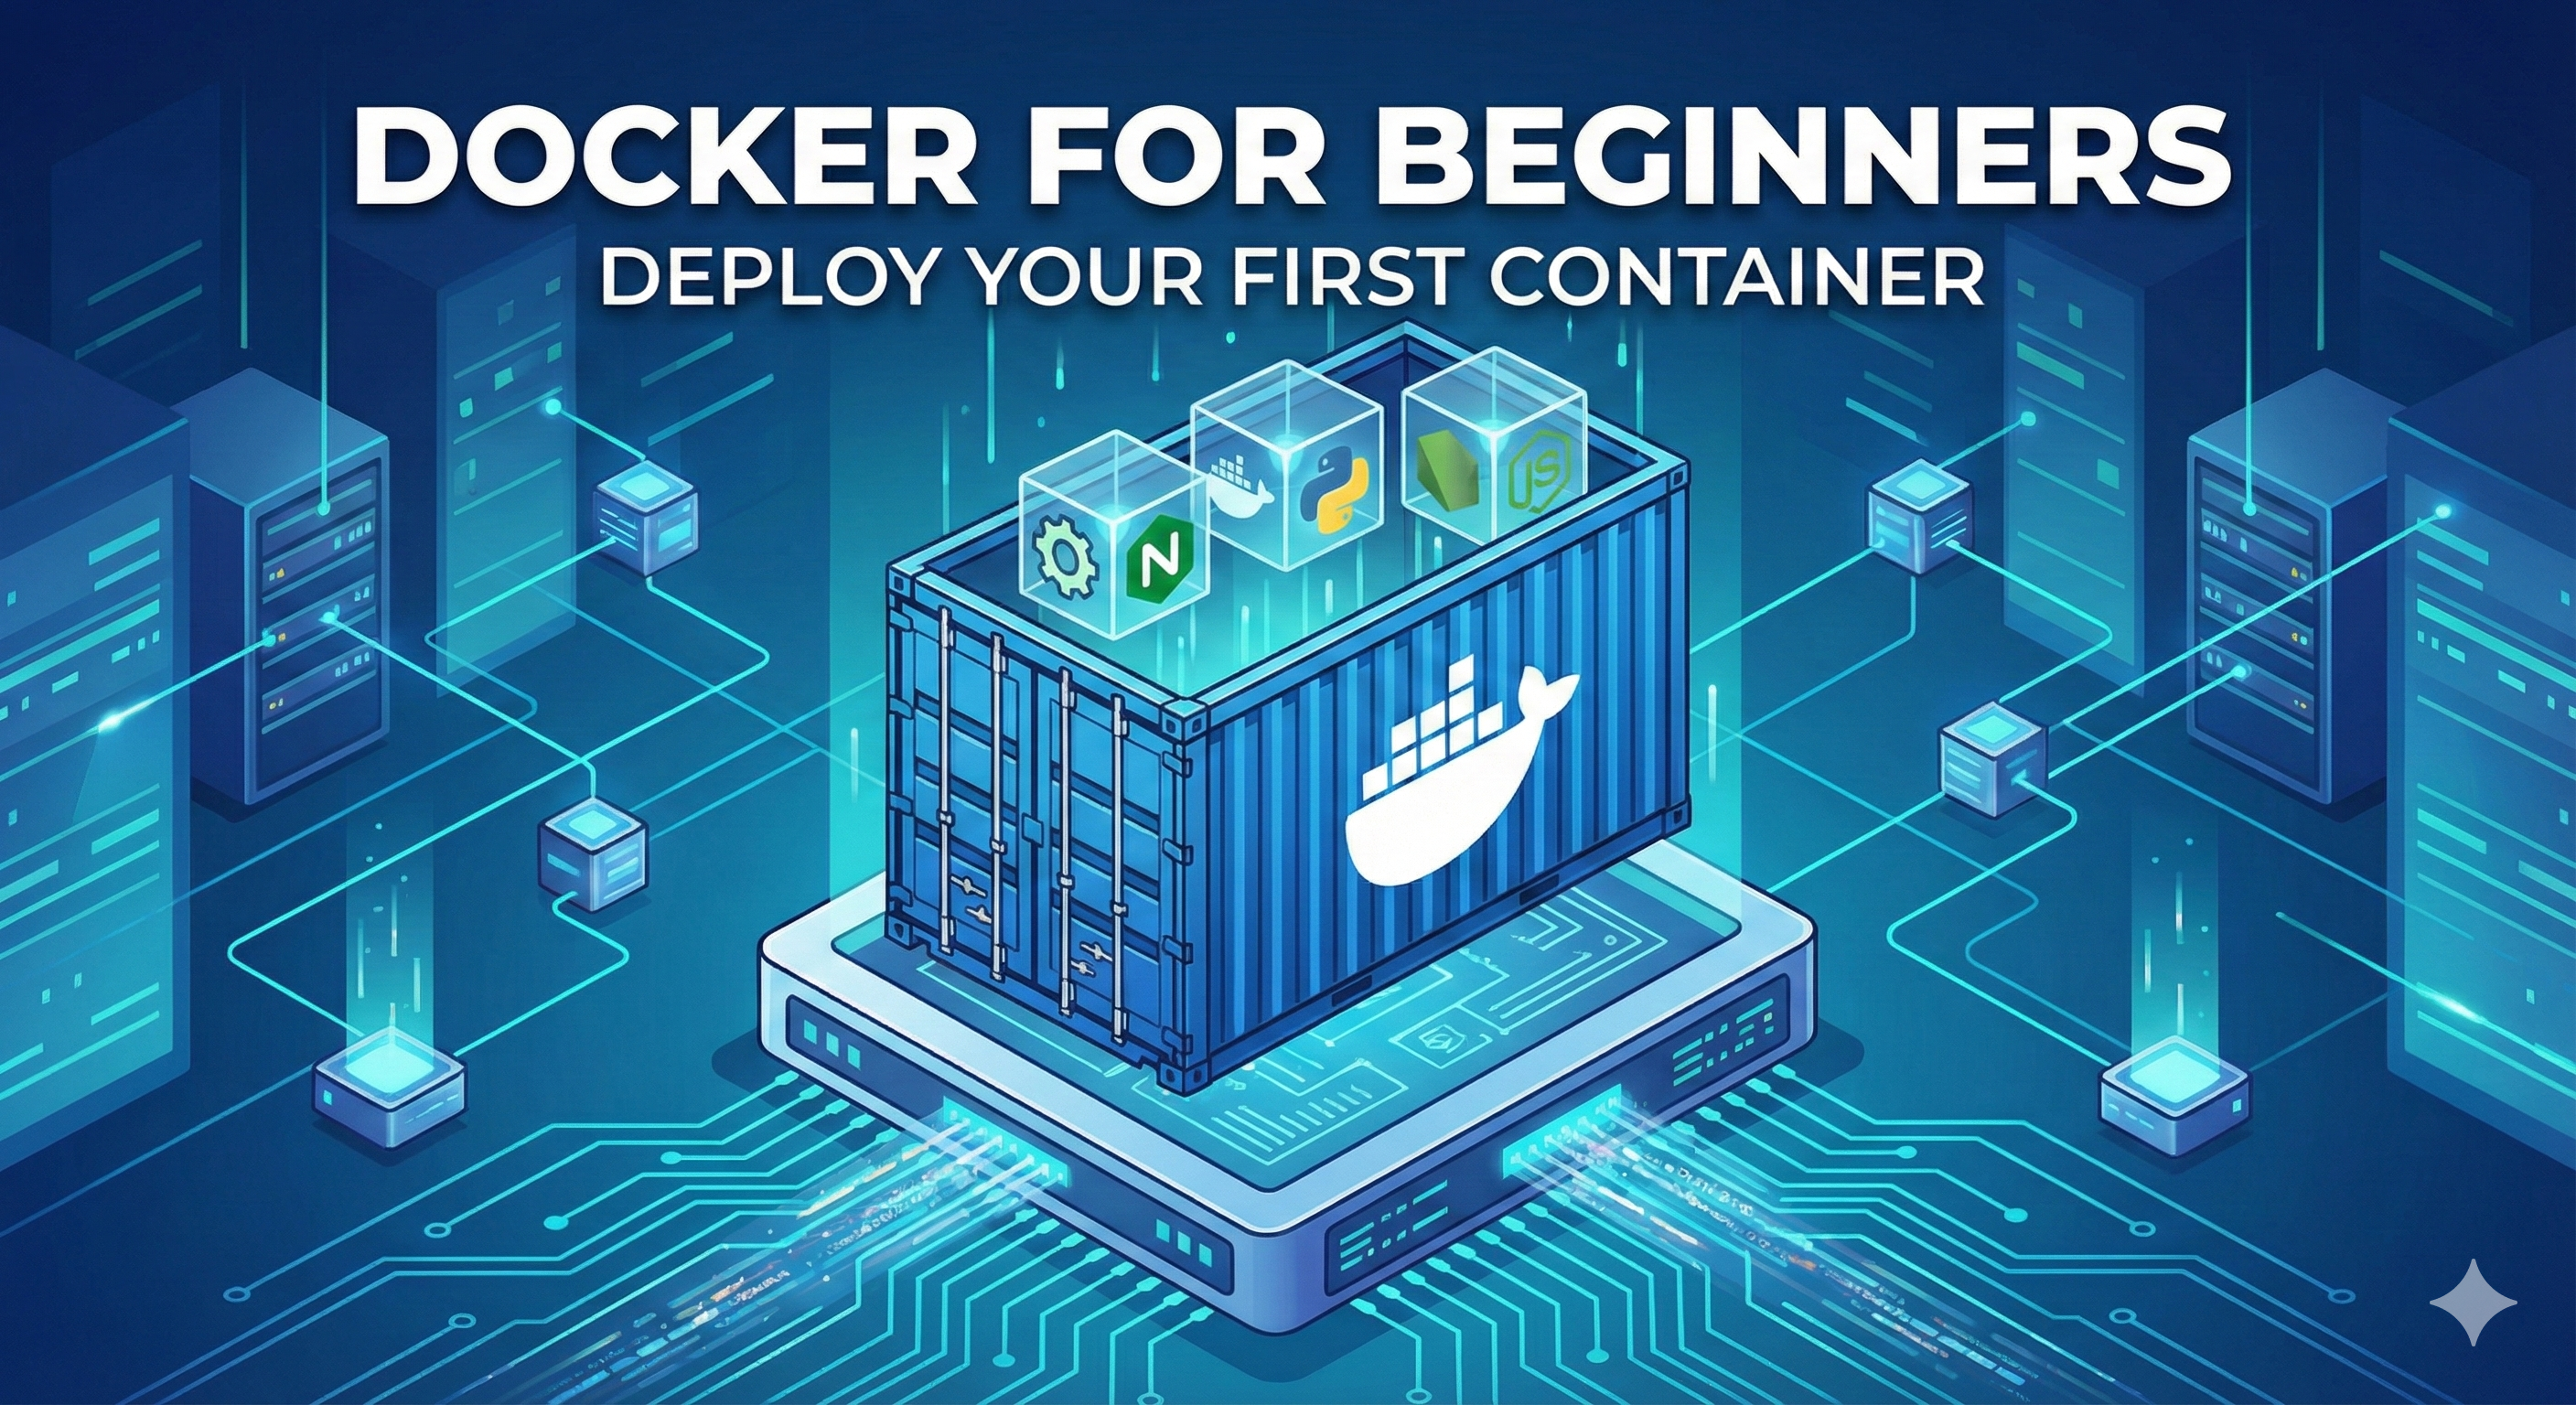
Enter Docker. Docker packages your app and everything it needs into a "Container." It runs the same on your laptop as it does on a Joy Services VPS. No conflicts, no mess.
Step 1: Clean the Slate
Ubuntu repositories often contain outdated, unofficial versions of Docker. We need to rip those out before we begin.
(It is normal if it says "Package 'docker.io' is not installed, so not removed.")
Step 2: Add the Official Repository
We want the latest features, so we will tell Ubuntu to ignore its own library and use Docker's official source instead.
1. Install Prerequisites & Keyrings:
2. Add the Repo to Source List:
Step 3: Install the Engine
Now that the groundwork is laid, the installation is a single command.
Verify it works:
If you see a green active (running) light, press Q to exit the screen.
Step 4: Launch Your First App
We will launch a tiny web server (Nginx) inside a container. We will map it to port 8080 so it doesn't conflict with any websites you already have running on port 80.
-d: Detached (Runs in the background so it doesn't freeze your terminal).-p 8080:80: Traffic hitting your VPS on port 8080 is magically teleported to port 80 inside the container.nginx: The image name to download from Docker Hub.
Test it now: Open your browser and go to http://your_server_ip:8080. You will see the "Welcome to Nginx" page.
Step 5: Cleanup
You can't leave containers running forever if you aren't using them. Here is how to kill it.
You have now successfully installed the engine and mastered the basic lifecycle of a container. You are ready to deploy complex stacks without the headache.