AI development environment on Ubuntu
[Image of Redis caching architecture]
Installing a "Speed Plugin" on a slow server is like putting a spoiler on a tractor. It looks cool, but you are still going 10 MPH.
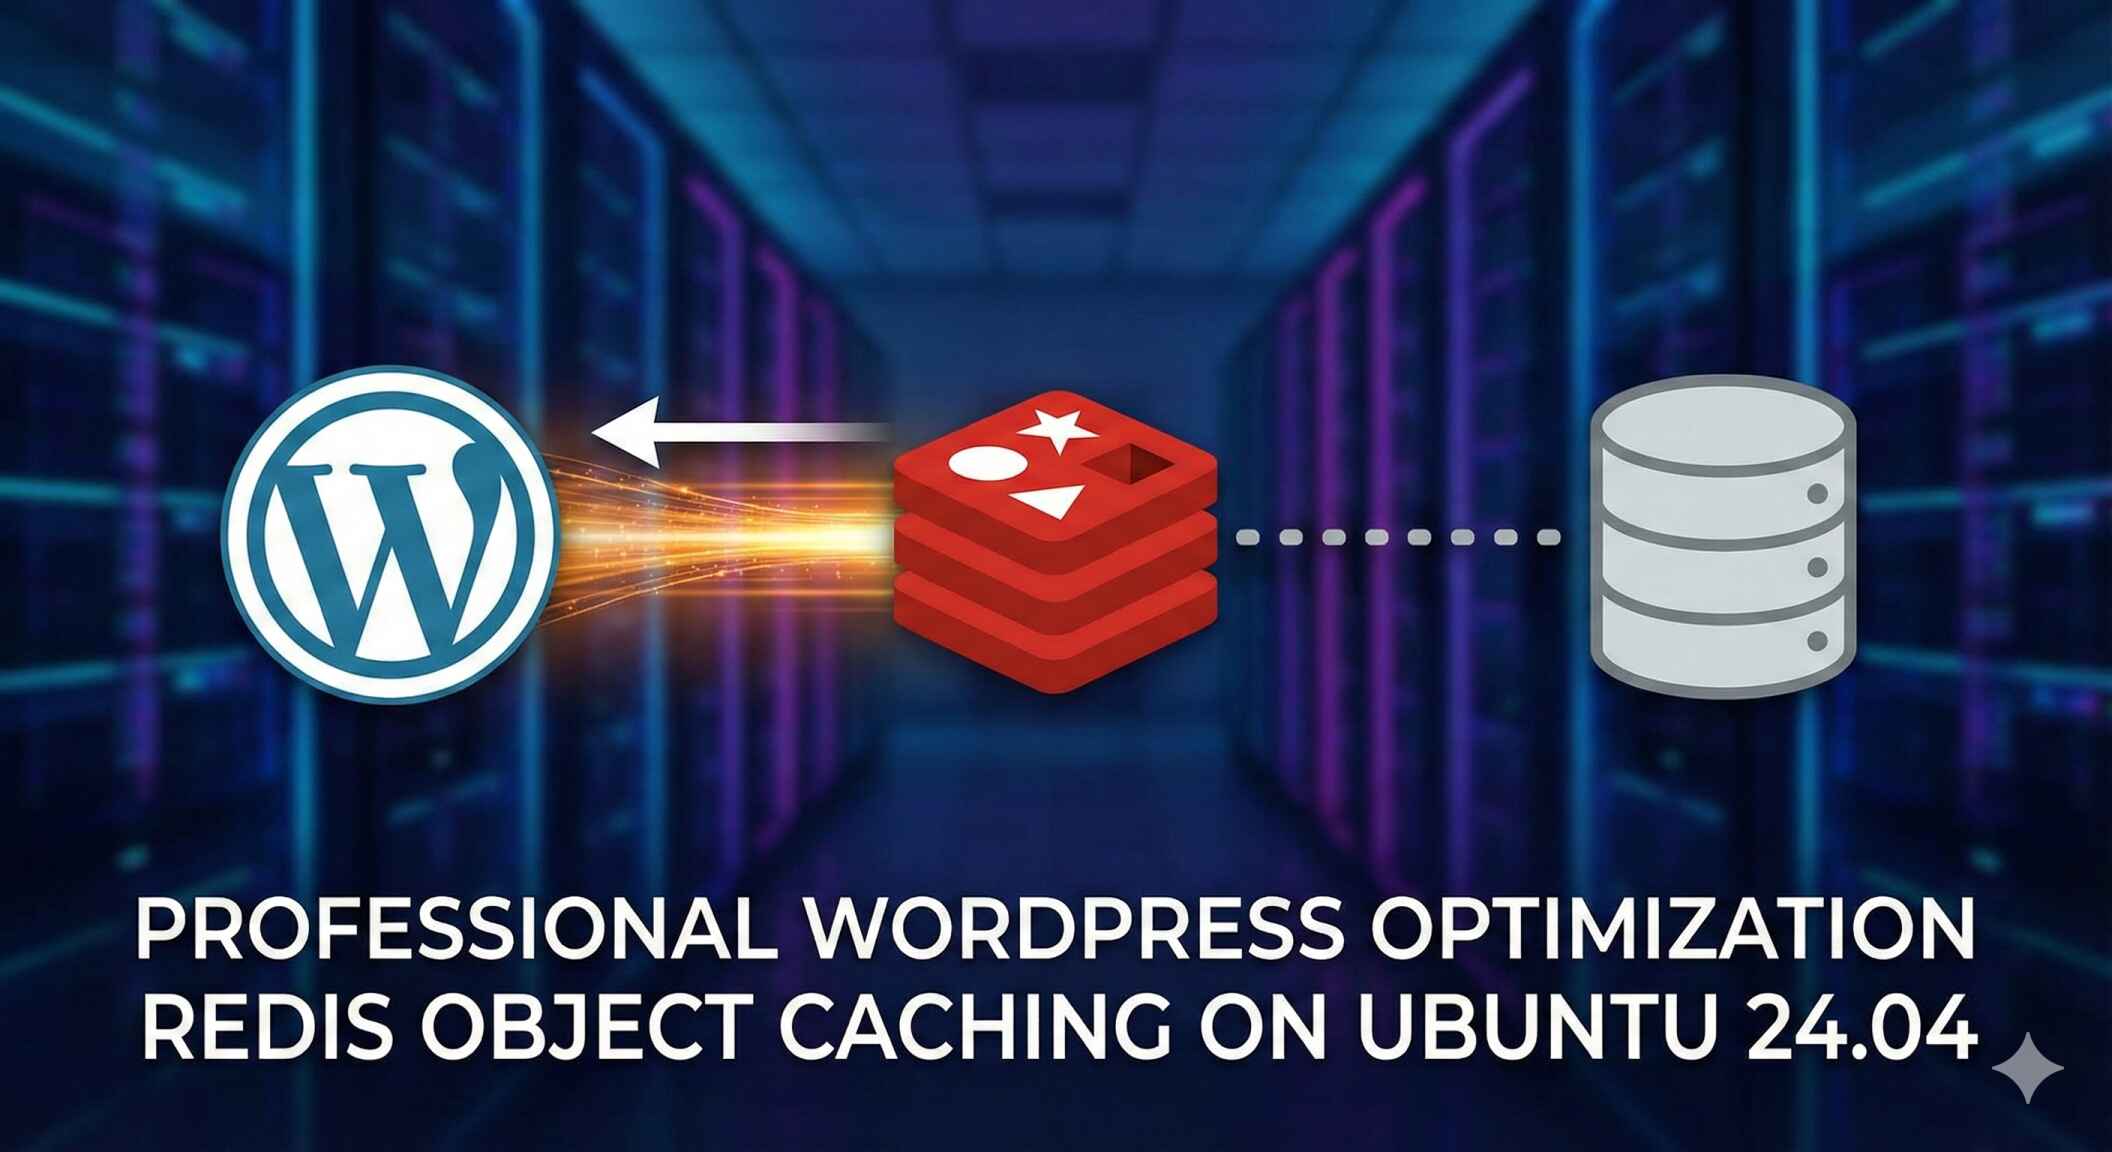
Every time a visitor loads your site, WordPress has to query your database dozens of times. "Get site title," "get latest posts," "get user ID." This is slow.
Redis solves this by storing those answers in your server's RAM. The next time a user asks, Redis delivers the answer instantly, skipping the database entirely.
Step 1: Install Redis Server
First, we need to install the Redis software on your backend.
Verify Redis is running:
● redis-server.service - Advanced key-value store
     Loaded: loaded (/lib/systemd/system/redis-server.service; enabled)
     Active: active (running)
Step 2: Configure Redis Memory
By default, Redis doesn't know how much RAM to use. We need to set a limit so it doesn't crash your server.
Scroll to the bottom of the file and add these two lines:
maxmemory 256mb: Limits cache to 256MB of RAM.allkeys-lru: If the cache gets full, it automatically deletes the "Least Recently Used" (LRU) data to make room for new data.
Restart Redis to apply changes:
Step 3: Connect WordPress to Redis
Now that the server is ready, we need to tell WordPress to use it. We will use the official plugin.
1. Log in to your WordPress Dashboard.
2. Go to Plugins > Add New.
3. Search for "Redis Object Cache" (By Till Krüss).
4. Click Install and then Activate.
Once activated, go to Settings > Redis and click the button "Enable Object Cache".
Status: Connected
Redis Version: 6.0.16
Client: PhpRedis (v5.3.7)
php-redis package in Step 1. WordPress cannot talk to the Redis server without this PHP extension.
Step 4: Verify It Is Actually Working
Don't trust the green checkmark. Let's verify via the command line that keys are actually being stored.
Now, refresh your website in a browser. Watch your terminal. You should see a flood of "GET" and "SET" commands flying by.
1638219.1233 [0 127.0.0.1:4567] "GET" "wp_:options:alloptions"
1638219.1455 [0 127.0.0.1:4567] "GET" "wp_:users:1"
Success! Your database is now resting while RAM handles the heavy lifting. Your site is significantly faster.